drum wrap removal
last night i removed the wrap on my 16" floor tom =)
i can finally start blogging the whole process so let's begin by removing the wrap on this one shall we? i have the following tools to do the job: long nose pliers, a screw driver to remove the lugs, a 1" chisel or scraper and a clear space to work on.
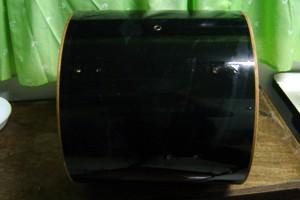
now presenting my 16" tom

the first thing i did was to remove the eyelet vent by using the chisel to pry the sides and then used the long nose pliers to squeeze it to the center. you'll never going to use the eyelet again so dont be gentle with it, totally disfigure and destroy it to make its removal easy. in the end, i only need to push it downwards with the pliers. it might be very difficult for you to pull or push it with the pliers so use a big nail and hammer it from the outside of the shell.

now look lets begin unwrapping the shell. look for the seam of the wrap. use a chisel, a scraper or any flat sharp object to pry the wrap. do this gently on the start of the seam to avoid any untowards peeling of the wood.

here's another view. notice that only the start and end of the wrap has adhesive from top to bottom. normally, they use high bond double adhesive tape on the wraps. if the wrap is glued to the shell then your screwed big time!

carefully push the chisel to split the wood and the adhesive. dont pull the wrap!

just in case you are wondering why you shouldn't pull the wrap, here's an example:

splinters, now you dont want that. it makes finishing a little more difficult. of course you can always fix it but why go the extra step? i only intentionally done that to illustrate the point.
here's the shell with the wrap removed half-way:

and now the unwrapped shell

you have to sand the shell to remove any remaining adhesive and then start the painting process...more on that later.


0 Comments:
Post a Comment
<< Home