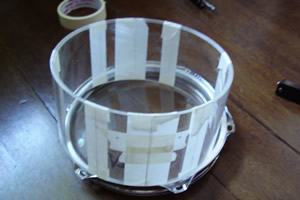
after a long hiatus, im back pimpin as usual. first off, a progress report on my acrylic toy. here's a shot of it with masking tape before drilling. double 45 degree bearing edges with the outer part cut smaller than the inner part. i wanted this to be a dry cracky snare so i didnt do a sharp edge. it you touch the bearing edge, you will feel a plateau.
now this one is a dry fit shot with only two lugs. i was testing the clearance between the lug and hoop. the snare beds were also sanded. so far so good.
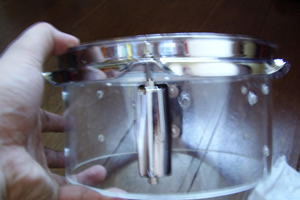
lazer gave me the standard length screws but it wont work on my shell. the acrylic im using is thinner than the standard wood snare shell so i had to buy shorter ones. took me a couple of weeks to actually walk to the hardware store and buy the proper screw lengths and assemble this thing. well, last saturday i did, its assembled now and only two things left to do:
- go to a lazer branch and buy another 8" head
- drill the snare gates on the bottom hoop
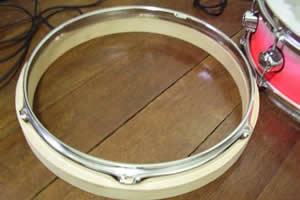
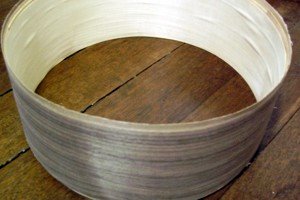
next up is the wood hoop, i cant believe i've been working on this one for 4 months now. i got this down from an art to a science. my glueing-the-plies technique was perfected after 4 costly failures and for being a patient grass hopper. my shell making abilities also improved 100% learning from my past mistakes.
here's the raw hoop, still needs a lot of sanding and then its off to drilling the lug holes, routing the canal for the drum head and finally applying satin tung oil finish. it will at least take me another week to complete the finishing steps.
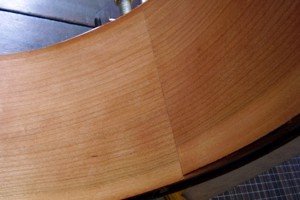
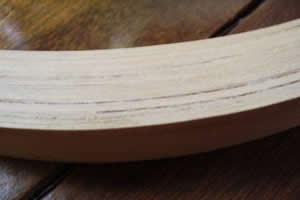
in closing, i give you a close up of the hoop

nice eh ... honk if you like


